Chocolate Dipped Spring Cookies
Highlighted under: Sweet Baking Recipes
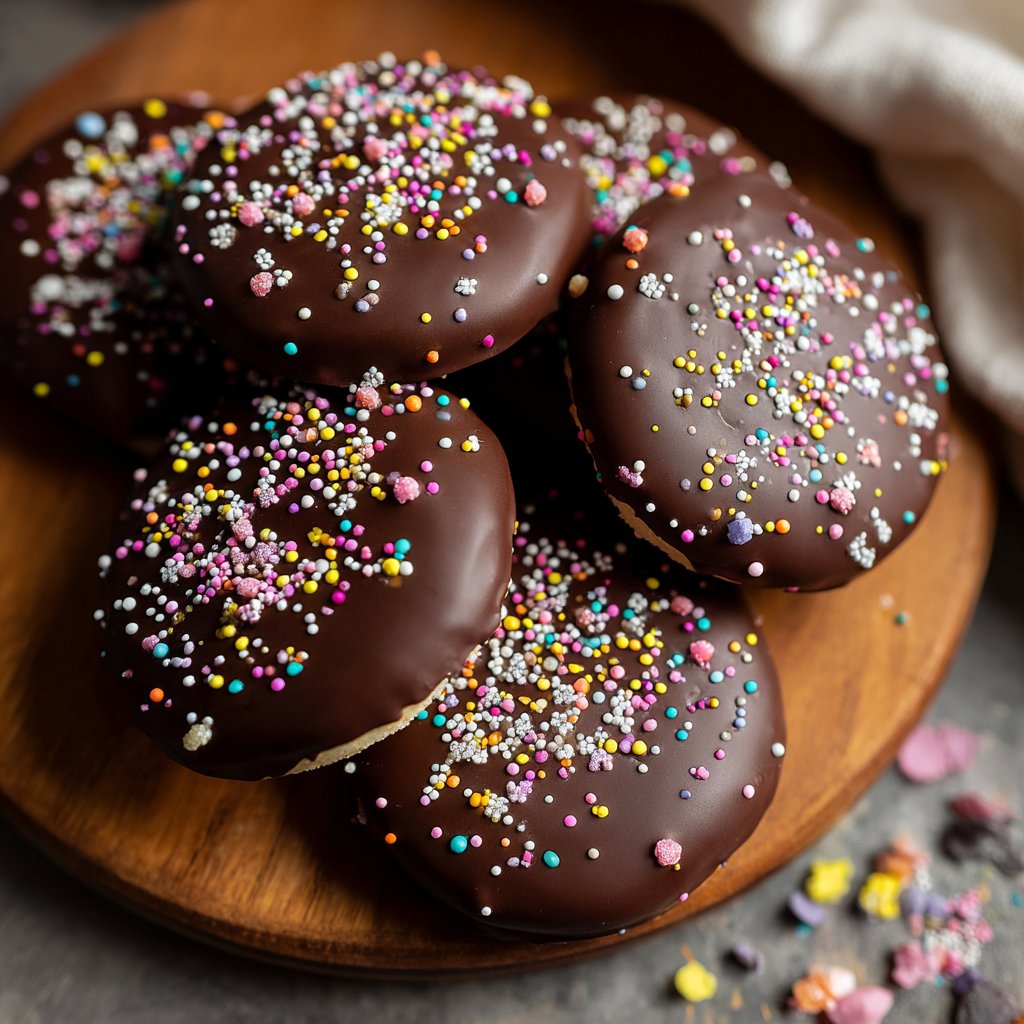
I absolutely love making Chocolate Dipped Spring Cookies, especially during the warmer months when everything feels fresh and vibrant. This recipe offers a delightful contrast between the light, buttery cookie and the rich, velvety chocolate coating. I’ve found that using high-quality chocolate truly elevates the flavor and makes the treat irresistible. The colorful sprinkles add a cheerful touch, making them perfect for any gathering or celebration. With just a few ingredients and simple steps, you'll have a delicious batch of cookies to share or enjoy yourself.
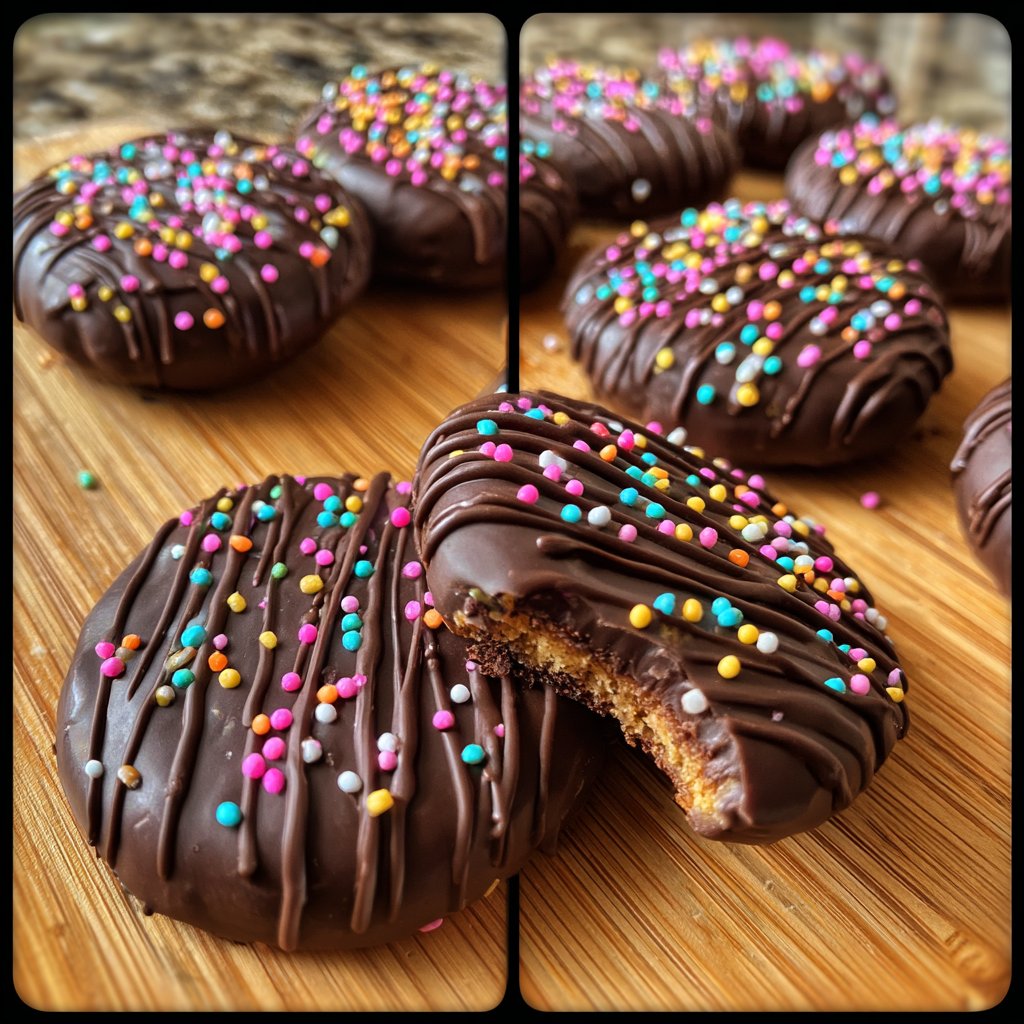
Making these Chocolate Dipped Spring Cookies became a cherished weekend ritual in my home. Each time I bake them, I'm reminded of how the sentiment of sharing treats can bring people together. We once hosted an afternoon tea, and these cookies vanished within minutes; everyone loved the crunch of the sprinkles against the smooth chocolate.
One tip I've learned is to let the dipped cookies cool on parchment paper rather than a wire rack. This prevents the chocolate from getting those 'rack marks' that can detract from their appearance. Enjoying these cookies fresh out of the fridge gives them a delightful firmness that complements their soft interior perfectly!
Why You Will Love These Cookies
- Buttery texture that melts in your mouth
- Rich chocolate coating with a festive touch
- Perfect for sharing at any spring celebration
Mastering the Cookie Texture
Achieving the perfect cookie texture can be tricky, but with a few tips, you'll succeed every time. Make sure your butter is truly softened, not melted; it should leave an indent when pressed but still hold its shape. This allows for maximum creaming with the sugar, resulting in a light and fluffy dough. When incorporating the dry ingredients, avoid overmixing to maintain that tender crumb. If dough is too sticky, chill it for 15-20 minutes.
Perfecting the Chocolate Dip
While melting the chocolate, be cautious to avoid overheating. Microwaving in short bursts of 30 seconds is highly effective; stir in between to check for smoothness. Chocolate that becomes too hot can seize and develop a grainy texture, ruining the luxurious finish. If this happens, adding a teaspoon of additional vegetable oil can help salvage the mixture. Choose high-quality chocolate chips for a rich melt that enhances the overall flavor of your cookies.
Ingredients
Gather these ingredients to make your delicious chocolate-dipped cookies:
Ingredients
- 1 cup unsalted butter, softened
- 3/4 cup granulated sugar
- 2 cups all-purpose flour
- 1/2 teaspoon baking powder
- 1/4 teaspoon salt
- 1 cup chocolate chips
- 1 tablespoon vegetable oil
- 1/2 cup colorful sprinkles
Now that you have all your ingredients, let’s start baking!
Instructions
Follow these easy steps to create your chocolate dipped cookies:
Prepare the Cookie Dough
In a mixing bowl, cream together the softened butter and sugar until light and fluffy. Gradually add the flour, baking powder, and salt, mixing until just combined.
Shape the Cookies
Scoop tablespoon-sized portions of the dough onto a baking sheet lined with parchment paper. Gently flatten them to create a disc shape.
Bake the Cookies
Preheat your oven to 350°F (175°C) and bake the cookies for 10 minutes or until the edges are lightly golden. Remove and let cool completely.
Dip in Chocolate
While the cookies cool, melt the chocolate chips with vegetable oil in a microwave-safe bowl in 30-second intervals, stirring until smooth. Dip each cookie halfway into the chocolate and allow excess to drip off.
Add Sprinkles
Immediately sprinkle the colorful sprinkles on the chocolate before it sets. Place the cookies on parchment paper to cool completely.
Once your cookies have cooled and the chocolate has set, they are ready to enjoy!
Pro Tips
- For a more intense chocolate flavor, try adding a splash of vanilla extract to the melted chocolate. Additionally, feel free to experiment with different types of sprinkles or toppings for a personalized touch.
Storage and Freshness
Once your Chocolate Dipped Spring Cookies are cooled and decorated, store them in an airtight container at room temperature for up to a week. This keeps them fresh while allowing the chocolate to retain its beautiful sheen. If you want to keep them longer, you can freeze them for up to three months. Just ensure they are well-wrapped to prevent freezer burn, and place sheets of parchment paper between layers to protect the chocolate coating.
Variations to Delight
Feel free to personalize these cookies based on your preferences or what you have available. For a nutty twist, consider adding chopped walnuts or pecans to the dough before baking. You could also use white chocolate instead of milk chocolate for a different flavor profile. Additionally, experimenting with flavored extracts such as almond or vanilla can subtly elevate your cookie experience. Just remember to start with a small amount to avoid overpowering the buttery essence.
Questions About Recipes
→ Can I use dark chocolate instead of chocolate chips?
Absolutely! Dark chocolate will give your cookies a richer flavor.
→ How should I store the cookies?
Store them in an airtight container at room temperature for up to a week.
→ Can these cookies be made ahead of time?
Yes, they can be made a day in advance. Just make sure to let them cool completely before storing.
→ What can I use instead of butter?
You can substitute with margarine or a plant-based butter for a dairy-free option.
Chocolate Dipped Spring Cookies
Created by: The Yumcanvas Team
Recipe Type: Sweet Baking Recipes
Skill Level: Easy
Final Quantity: 24 cookies
What You'll Need
Ingredients
- 1 cup unsalted butter, softened
- 3/4 cup granulated sugar
- 2 cups all-purpose flour
- 1/2 teaspoon baking powder
- 1/4 teaspoon salt
- 1 cup chocolate chips
- 1 tablespoon vegetable oil
- 1/2 cup colorful sprinkles
How-To Steps
In a mixing bowl, cream together the softened butter and sugar until light and fluffy. Gradually add the flour, baking powder, and salt, mixing until just combined.
Scoop tablespoon-sized portions of the dough onto a baking sheet lined with parchment paper. Gently flatten them to create a disc shape.
Preheat your oven to 350°F (175°C) and bake the cookies for 10 minutes or until the edges are lightly golden. Remove and let cool completely.
While the cookies cool, melt the chocolate chips with vegetable oil in a microwave-safe bowl in 30-second intervals, stirring until smooth. Dip each cookie halfway into the chocolate and allow excess to drip off.
Immediately sprinkle the colorful sprinkles on the chocolate before it sets. Place the cookies on parchment paper to cool completely.
Extra Tips
- For a more intense chocolate flavor, try adding a splash of vanilla extract to the melted chocolate. Additionally, feel free to experiment with different types of sprinkles or toppings for a personalized touch.
Nutritional Breakdown (Per Serving)
- Calories: 140 kcal
- Total Fat: 8g
- Saturated Fat: 5g
- Cholesterol: 20mg
- Sodium: 60mg
- Total Carbohydrates: 17g
- Dietary Fiber: 0g
- Sugars: 8g
- Protein: 2g