Chocolate Heart Cake Pops
Highlighted under: Sweet Baking Recipes
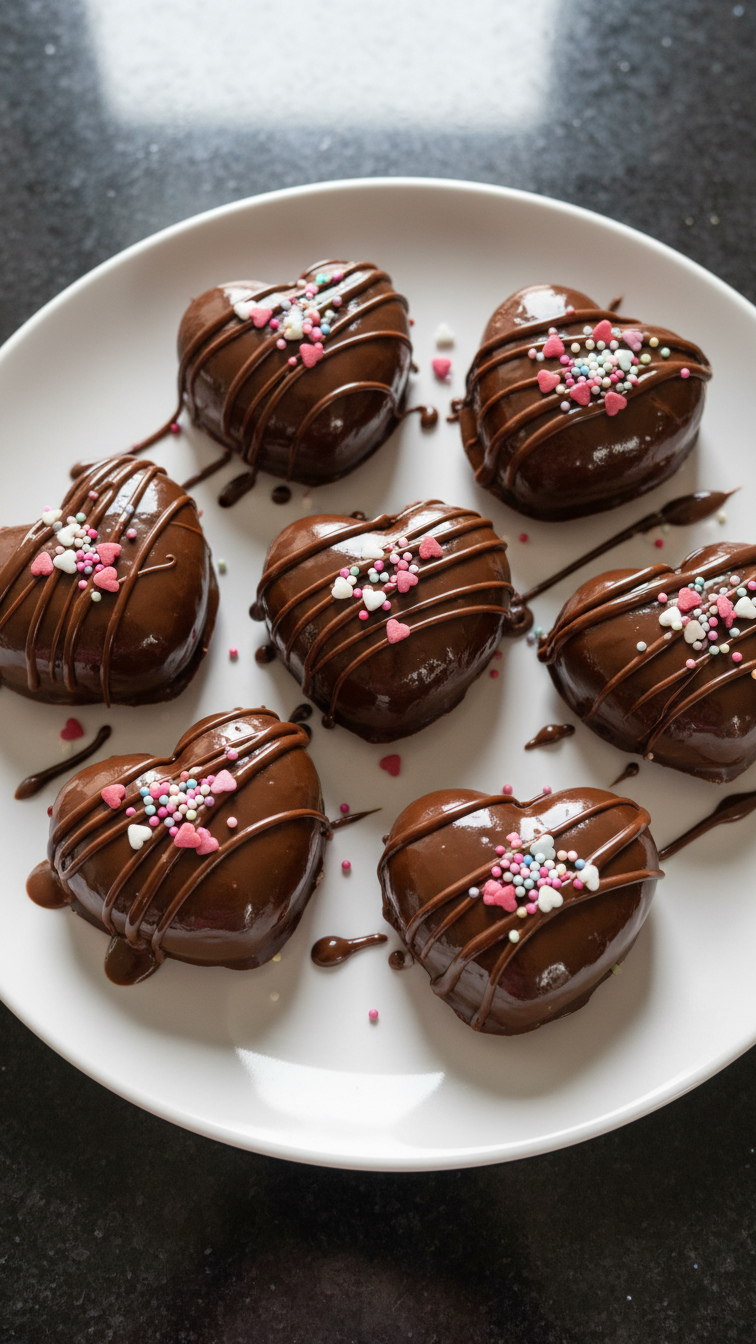
I absolutely love making Chocolate Heart Cake Pops for special occasions. Each bite is a delightful combination of rich chocolate cake and silky smooth frosting, covered in a glossy chocolate shell. They’re perfect for sharing at parties, and I find it so satisfying to see the smiles on everyone’s faces when they take a bite. Shaping them into hearts adds a personal touch that's great for celebrations like Valentine's Day or anniversaries. Trust me, these cake pops are a crowd-pleaser and a treat that's fun to make!
When I first tried making cake pops, I was amazed at how versatile they could be. These Chocolate Heart Cake Pops became a favorite not just because of their taste, but also their appearance. With a little creativity, you can dunk them in different colored chocolate and sprinkle them to match any theme!
One crucial tip I learned is to let your cake cool completely before mixing it with the frosting. This ensures the mixture binds perfectly, helping them hold their shape when you dip them in the chocolate coating. It makes such a difference!
Why You'll Love This Recipe
- Rich chocolate flavor that satisfies any sweet tooth
- Adorable heart shape perfect for celebrations
- Easy to make and fun to decorate
The Importance of Cake Consistency
Achieving the right consistency for your cake pop mixture is crucial for forming hearts that hold together. After crumbling your cooled cake, ensure you incorporate the frosting evenly. This mixture should be moist but not too sticky. If it feels too wet, add a little more cake crumbles to achieve a moldable texture. Conversely, if it’s too dry, you can mix in additional frosting by the tablespoon until it reaches the desired consistency.
Once shaped, freezing the cake pops is essential for maintaining their heart shape when dipping. I recommend at least 15 minutes in the freezer. This allows them to firm up, making it easier to handle and resulting in fewer chances of losing shape during the dipping process. A quick freeze also helps the coating adhere better.
Decorating Tips for Perfect Cake Pops
When you dip your cake pops, make sure the coating is at the right temperature; if it’s too hot, it can become too runny, leading to a messy finish. If it’s too cool, it may harden too quickly, resulting in an uneven coat. The ideal chocolate should be warm but not bubbling, so you end up with a smooth, glossy shell. If you notice it’s getting thick, simply reheat it in short bursts in the microwave, stirring in between.
As for decorating, using three types of sprinkles – such as chocolate sprinkles, colorful confetti, or edible glitter – can add a special touch to your cake pops. The key is to add your toppings immediately after dipping while the coating is still wet. This will ensure the sprinkles stick without slipping off. For a more sophisticated look, consider drizzling contrasting chocolate over the set pops for an elegant finish.
Ingredients
Ingredients
For the Cake Pops
- 1 box chocolate cake mix
- 1 cup water
- 1/2 cup vegetable oil
- 3 large eggs
- 1/2 cup chocolate frosting
- 1 bag candy melts (or chocolate coating)
- 24 lollipop sticks
- Sprinkles (optional for decoration)
Make sure to have everything ready before you start!
Instructions
Instructions
Bake the Cake
Preheat your oven according to the cake mix instructions. Prepare a 9x13 inch baking pan and pour in the cake batter. Bake as directed, usually about 25-30 minutes. Once done, let it cool completely.
Prepare the Cake Pop Mixture
Crumble the cooled cake in a large mixing bowl and mix in the frosting until fully incorporated. The mixture should be moist but not overly sticky.
Shape the Cake Pops
Using your hands, take a small amount of the cake mixture and shape it into heart shapes. Place them on a baking sheet lined with parchment paper and freeze for about 15 minutes.
Melt the Coating
In a microwave-safe bowl, melt the candy melts as instructed on the package, stirring until smooth.
Dip the Pops
Take the cake pops from the freezer, insert a lollipop stick into each heart, and dip them into the melted coating until fully covered. Tap off any excess chocolate.
Decorate
Immediately sprinkle your desired toppings over the wet chocolate before it sets. Place the pops upright in a styrofoam block or cake pop stand to dry.
Enjoy your delicious and adorable chocolate heart cake pops!
Pro Tips
- For a fun twist, you can add flavored extracts to the cake batter or frosting. Experimenting with different chocolate coatings can also create exciting variations!
Ingredient Substitutions
If you're looking to make these cake pops gluten-free, simply swap the chocolate cake mix for a certified gluten-free chocolate cake mix available at most grocery stores. Additionally, you could make your frosting from scratch using gluten-free ingredients to ensure that every element of your cake pops fits your dietary needs.
For a dairy-free version, consider using dairy-free chocolate cake mix and frosting. There are several brands now making quality cake mixes and frostings that cater to these dietary restrictions, allowing you to indulge without any worries. Also, ensure that your candy melts are dairy-free as well.
Storage and Make-Ahead Tips
These Chocolate Heart Cake Pops can be made a day in advance, making them a convenient treat for events. Once they’re finished and decorated, store them upright in an airtight container at room temperature, or in the refrigerator if your kitchen is particularly warm. Just be aware that cold cake pops can soften when brought to room temperature, so allow them to sit out for a short time before serving.
If you want to store them for longer, consider freezing the uncoated cake pop shapes. Shape them and freeze them on a baking sheet, then transfer them to a zip-top bag once solid. Thaw them in the fridge overnight before coating, ensuring they maintain their shape and texture.
Questions About Recipes
→ How do I store leftover cake pops?
You can store them in an airtight container in the refrigerator for up to a week.
→ Can I use homemade cake instead of a mix?
Absolutely! Just make sure it has a good structure so that pops hold their shape.
→ Why is my chocolate coating cracking?
It may be due to temperature changes. Allow them to cool at room temperature before refrigerating to prevent cracks.
→ Can these be made gluten-free?
Yes! Use a gluten-free cake mix and check your other ingredients for gluten content.
Chocolate Heart Cake Pops
Created by: The Yumcanvas Team
Recipe Type: Sweet Baking Recipes
Skill Level: Intermediate
Final Quantity: 24 pops
What You'll Need
For the Cake Pops
- 1 box chocolate cake mix
- 1 cup water
- 1/2 cup vegetable oil
- 3 large eggs
- 1/2 cup chocolate frosting
- 1 bag candy melts (or chocolate coating)
- 24 lollipop sticks
- Sprinkles (optional for decoration)
How-To Steps
Preheat your oven according to the cake mix instructions. Prepare a 9x13 inch baking pan and pour in the cake batter. Bake as directed, usually about 25-30 minutes. Once done, let it cool completely.
Crumble the cooled cake in a large mixing bowl and mix in the frosting until fully incorporated. The mixture should be moist but not overly sticky.
Using your hands, take a small amount of the cake mixture and shape it into heart shapes. Place them on a baking sheet lined with parchment paper and freeze for about 15 minutes.
In a microwave-safe bowl, melt the candy melts as instructed on the package, stirring until smooth.
Take the cake pops from the freezer, insert a lollipop stick into each heart, and dip them into the melted coating until fully covered. Tap off any excess chocolate.
Immediately sprinkle your desired toppings over the wet chocolate before it sets. Place the pops upright in a styrofoam block or cake pop stand to dry.
Extra Tips
- For a fun twist, you can add flavored extracts to the cake batter or frosting. Experimenting with different chocolate coatings can also create exciting variations!
Nutritional Breakdown (Per Serving)
- Calories: 120 kcal
- Total Fat: 6g
- Saturated Fat: 3g
- Cholesterol: 25mg
- Sodium: 45mg
- Total Carbohydrates: 17g
- Dietary Fiber: 0g
- Sugars: 12g
- Protein: 1g