Berry Blast Frozen Yogurt Cups
Highlighted under: Light & Fresh Meals
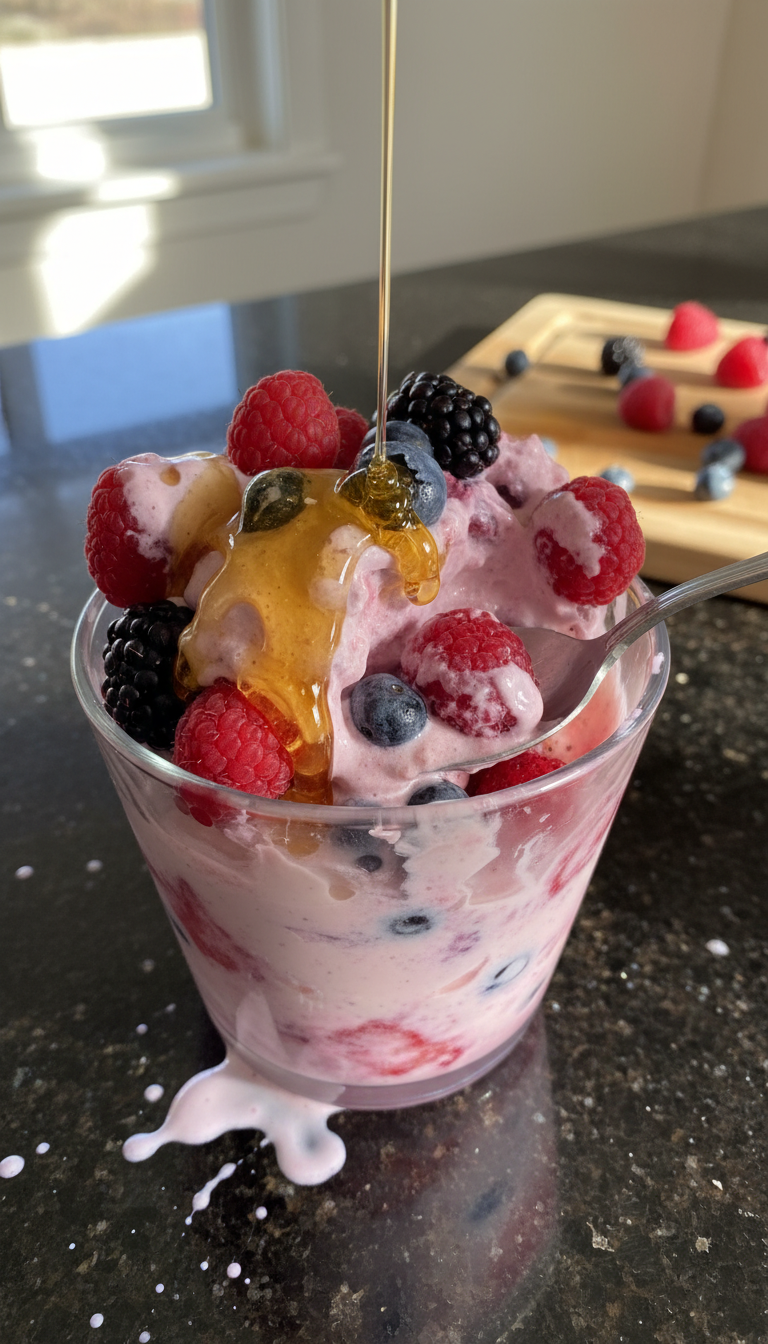
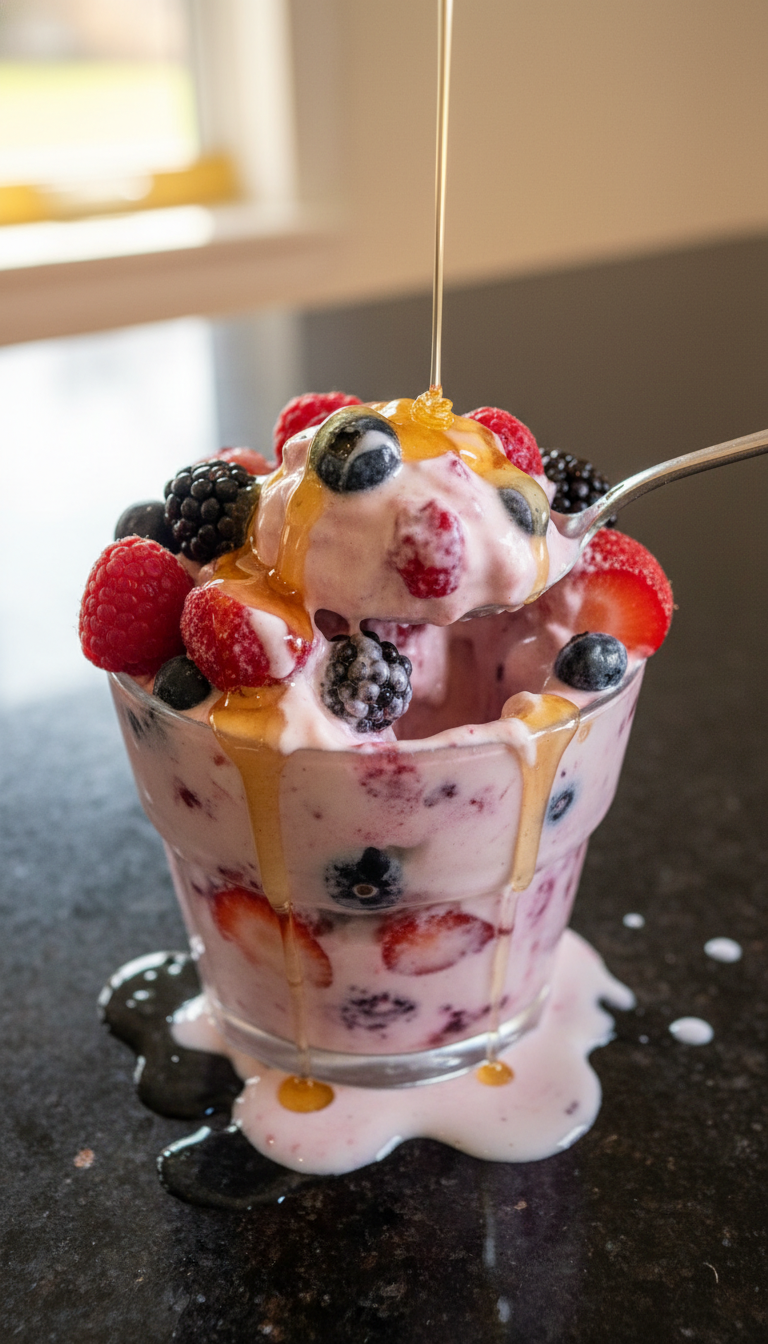
I absolutely love making Berry Blast Frozen Yogurt Cups, especially during the warm summer months. The combination of fresh berries and creamy yogurt creates a refreshing treat that feels indulgent yet is healthy. Preparing these cups is a fun and easy activity, perfect for involving the kids or enjoying on your own. Plus, they can be customized with your favorite fruits! In just a few simple steps, I can whip up these delightful snacks that are sure to impress at any gathering.
When I first tried making frozen yogurt at home, I was amazed at how simple it was. I experimented with different fruit combinations, and I consistently returned to berries because they bring such a vibrant color and natural sweetness. My go-to mix is that of strawberries, blueberries, and raspberries, which together create a berry explosion that’s just irresistible!
To get the best flavor, I recommend using yogurt that has a bit of tanginess to balance the sweetness of the fruit. I also found that letting the cups freeze for at least four hours allows them to reach the perfect consistency – with a delightful creamy texture that melts in your mouth!
Why You'll Love These Yogurt Cups
- Refreshing burst of mixed berries in every bite
- Healthy treat that's easy to customize with your favorite fruits
- Fun and easy to make, great for kids and adults alike
Ingredient Breakdown
The star of these Frozen Yogurt Cups is plain Greek yogurt, which provides a creamy texture and a tangy flavor that pairs perfectly with the sweetness of the berries. Greek yogurt is also a great source of protein, making this treat feel more satisfying. When adding honey, start with two tablespoons, but feel free to adjust based on your sweetness preference and the natural sweetness of your berries.
Using a mix of fresh berries not only enhances the flavor but also adds a vibrant burst of color. Strawberries provide sweetness, blueberries offer a juicy pop, and raspberries lend a tartness that balances the overall flavor. If berries are out of season, consider frozen fruit; just make sure to thaw and drain any excess moisture before mixing to avoid watery yogurt cups.
Expert Freezing Tips
To achieve the best texture in your yogurt cups, it's essential to let them freeze for a full four hours or longer. During this time, the mixture will harden thoroughly, ensuring a smooth and creamy bite when you’re ready to enjoy. For quicker setting, place muffin cups in the coldest part of your freezer. If you're short on time, consider using smaller cups or molds for faster freezing.
Releasing the cups from the silicone molds can be a bit tricky if they aren't frozen enough. If they feel stubborn, run warm water over the outside of the mold for a few seconds to loosen them up. This technique can help maintain the integrity of your yogurt cups, preventing them from breaking apart during removal.
Customizing Your Cups
One of the best aspects of these yogurt cups is their versatility. You can easily swap out the mixed berries for other fruits based on your preference or what you have on hand. Chopped bananas or peaches work wonderfully, but be mindful that fruits with higher water content may affect the final texture. If using bananas, consider adding a squeeze of lemon juice to prevent browning.
For those looking to add a nutritious boost, consider folding in some chia seeds or ground flaxseed to the yogurt mixture. Not only do they contribute healthy omega-3 fatty acids, but they also add a pleasing crunch. You can also experiment with different flavorings, like almond extract or cinnamon, to create unique variations of this recipe.
Ingredients
Ingredients
For the Frozen Yogurt Cups
- 2 cups plain Greek yogurt
- 1 cup mixed berries (strawberries, blueberries, raspberries)
- 2 tablespoons honey (optional)
- 1 teaspoon vanilla extract
- 12 silicone muffin cups
Feel free to adjust the sweetness by adding more or less honey depending on your preference.
Instructions
Instructions
Prepare the Mixture
In a mixing bowl, combine the Greek yogurt, mixed berries, honey, and vanilla extract. Use a spatula or a fork to gently fold the ingredients together, ensuring that the berries are evenly distributed without being completely mashed.
Fill the Muffin Cups
Spoon the yogurt mixture into the silicone muffin cups, filling each cup about three-quarters full. Tap the cups gently on the counter to eliminate any air bubbles.
Freeze the Cups
Place the filled muffin cups in the freezer and let them freeze for at least 4 hours, or until completely solid.
Serve
Once frozen, gently remove the yogurt cups from the silicone molds. You can serve them immediately or store them in an airtight container in the freezer for later enjoyment.
These yogurt cups are best enjoyed straight from the freezer.
Pro Tips
- For an extra crunch, consider adding granola or crushed nuts on top before freezing. You can also experiment with different flavorings like almond extract or add a sprinkle of cinnamon for a unique twist.
Storage and Make-Ahead Tips
These Frozen Yogurt Cups can be stored in an airtight container for up to two weeks in the freezer. They are great for meal prep and make for a quick and healthy snack whenever you need one. Just remember to allow them to sit at room temperature for about 5 minutes before attempting to eat, as this will soften them slightly, making them easier to bite into.
If you decide to make a larger batch, consider labeling containers with the date they were made so you can enjoy them at their best quality. You can also layer the cups with different flavors or fruits, creating a fun and visually appealing treat that will impress your friends!
Serving Suggestions
When serving your Berry Blast Frozen Yogurt Cups, consider garnishing with a sprinkle of granola or a drizzle of honey for added texture and flavor. Fresh mint leaves can also add a pop of color and a refreshing hint that complements the berries beautifully. You can even create a dessert platter with various toppings to allow guests to customize their yogurt cups.
These yogurt cups make a fantastic addition to brunch spreads or birthday parties, providing a healthy yet delicious option among heavier fare. For a delightful presentation, arrange them on a serving tray with additional fruits or edible flowers for an inviting look that’s sure to catch everyone’s eye!
Questions About Recipes
→ Can I use non-dairy yogurt?
Yes, you can substitute Greek yogurt with a non-dairy yogurt alternative if you prefer.
→ How long do these yogurt cups last in the freezer?
They can be stored in the freezer for up to 2 months. Just ensure they're sealed tight to prevent freezer burn.
→ Can I use frozen berries instead of fresh?
Absolutely! Just let them thaw slightly and then proceed with the recipe. Ensure to drain any excess liquid.
→ What other fruits can I add?
You can incorporate bananas, peaches, or even mango for a tropical twist. The sky's the limit!
Berry Blast Frozen Yogurt Cups
Created by: The Yumcanvas Team
Recipe Type: Light & Fresh Meals
Skill Level: Easy
Final Quantity: 12 cups
What You'll Need
For the Frozen Yogurt Cups
- 2 cups plain Greek yogurt
- 1 cup mixed berries (strawberries, blueberries, raspberries)
- 2 tablespoons honey (optional)
- 1 teaspoon vanilla extract
- 12 silicone muffin cups
How-To Steps
In a mixing bowl, combine the Greek yogurt, mixed berries, honey, and vanilla extract. Use a spatula or a fork to gently fold the ingredients together, ensuring that the berries are evenly distributed without being completely mashed.
Spoon the yogurt mixture into the silicone muffin cups, filling each cup about three-quarters full. Tap the cups gently on the counter to eliminate any air bubbles.
Place the filled muffin cups in the freezer and let them freeze for at least 4 hours, or until completely solid.
Once frozen, gently remove the yogurt cups from the silicone molds. You can serve them immediately or store them in an airtight container in the freezer for later enjoyment.
Extra Tips
- For an extra crunch, consider adding granola or crushed nuts on top before freezing. You can also experiment with different flavorings like almond extract or add a sprinkle of cinnamon for a unique twist.
Nutritional Breakdown (Per Serving)
- Calories: 120 kcal
- Total Fat: 3g
- Saturated Fat: 1g
- Cholesterol: 5mg
- Sodium: 45mg
- Total Carbohydrates: 20g
- Dietary Fiber: 2g
- Sugars: 14g
- Protein: 7g